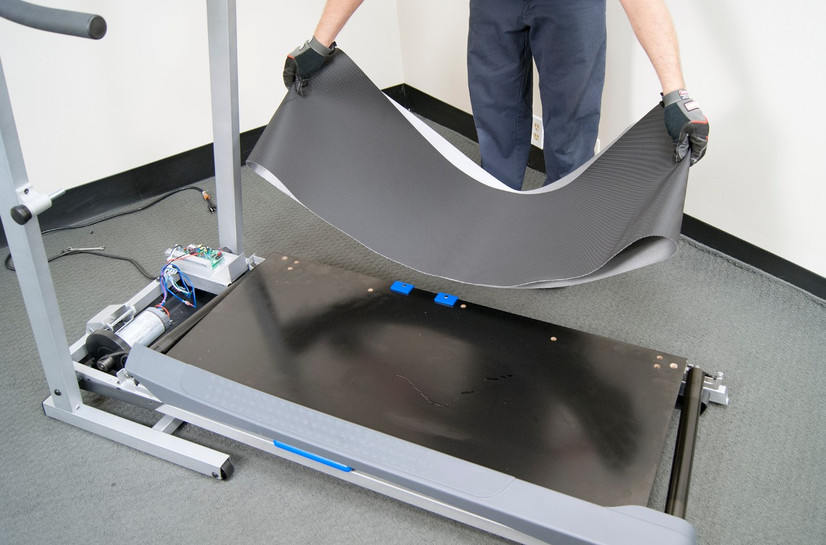
This is a general idea of motor belt replacement. Not all treadmills will use these procedures.
- Unplug treadmill.
- Remove treadmill motor hood.
- Loosen the two rear roller adjustment bolts. Loosen each bolt the same amount of turns. I usually loosen each bolt 15 turns counter clockwise turns each.
- Loosen the motor bracket bolts so as to remove tension between the motor pulley and front roller pulley. Note: some treadmills may have a spring and idler system, in this case you would take the spring off the frame to once again remove tension of the motor belt between the motor pulley and front roller pulley. Some newer treadmills have a no tension system for the motor belt, see 5.
- Remove the front roller. On some treadmills you remove the adjustment bolt on the right side of the roller (if walking on treadmill). Some treadmills you must remove the front roller by slipping it out of the frame (it is not bolted in). If you have a slip in front roller these can be tricky to remove, but the key is to slide the front roller to the right side (if walking on the treadmill) and once slide all the way right the left side will come out and you can remove the front roller. You may have a newer model treadmill, that has no tension system for the motor belt, these can be the most difficult to replace. In this case follow steps 1 thru 3. Next the front roller will have a hex head bolt on the left and right sides of the frame connecting the frame and also look like its going into the front roller. It does not go into the roller; the roller is indented at each end so as to allow the frame bolts to hold the front roller into place. Loosen the right and left side hex bolts going into the frame (DO NOT over loosen them or the frame will disconnect, if this happens just realign the frame back up and re-install hex bolt) this will make it so that you can use a screw driver to pry out the front roller.
- Remove old motor belt.
- Install new motor belt purchased from TreadmillPartsZone.com
- Re-install front roller.
- Install new motor belt onto the front roller and motor pulley. With spring tension system, re-install springs. With motor bracket system you must re-tighten the tension between the motor and front roller. This may have to be done with a screwdriver prying in a downward motion, or it may have to be done with a long clamp that will pull the motor back so as to put tension back on the motor belt. On treadmills with no tensioning system you need to install the motor belt first onto the motor pulley with the belt not installed on the front roller. Once the motor belt is on the motor pulley then turn the motor pulley so as to make the motor belt run up onto the front roller. The main lesson here with all three treadmill systems is to make sure you tighten the motor belt first before tightening the walking belt.
- Re-tighten the rear roller bolts the same amount of turns to loosen them in step 3.
- Before installing treadmill motor hood, plug in treadmill and test treadmill by walking on walking belt with your safety key attached to you. If all checks ok and no slipping, you’re done.
- If walking belt needs to be re-tracked (one side is more to the left or right side rails) you do this by adjusting the rear roller bolts using ¼ turns to re-align.


